 Save
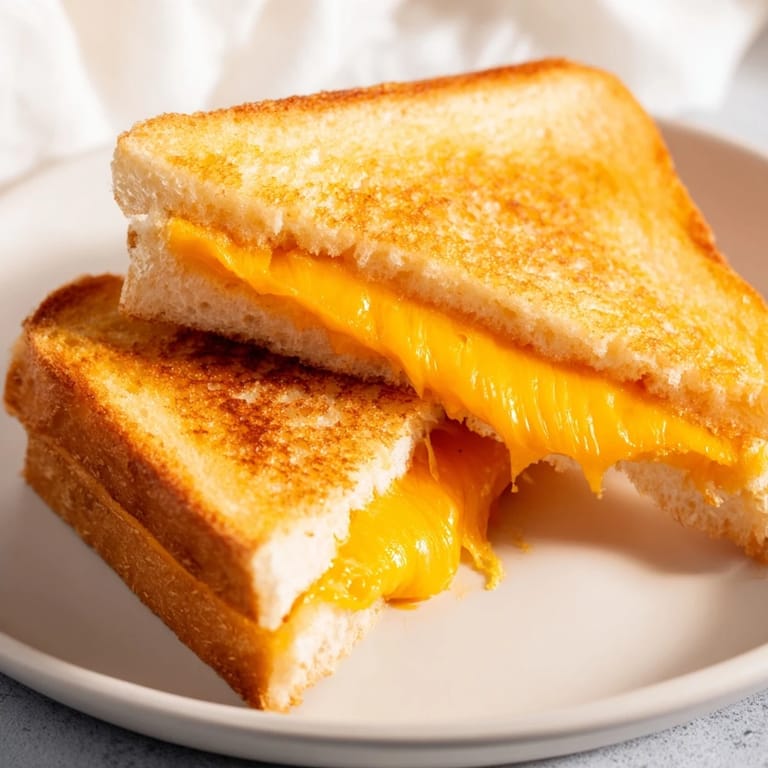
Save I discovered air fryer grilled cheese by accident on a Tuesday morning when I was too impatient to wait for the stovetop to heat up properly. My daughter had asked for something quick before school, and I remembered reading about making sandwiches in the air fryer. What came out five minutes later was impossibly crispy on the outside, with cheese that had melted into those perfect gooey pockets inside—no burnt edges, no soggy centers, just pure comfort food efficiency. Now it's become my go-to proof that sometimes the easiest method really is the best one.
My neighbor once stopped by around noon and caught me pulling these sandwiches out of the air fryer, and I swear she thought I'd spent an hour on lunch prep. When I told her the whole thing took eight minutes, she asked to try one, then immediately borrowed my air fryer for a week. That's when I realized this wasn't just a lazy person's trick—it was genuinely good food that happened to be ridiculously simple.
Ingredients
- Bread: Four slices of white or whole wheat sandwich bread—choose whatever you'd normally reach for, since the air fryer's heat is forgiving enough to work with most types without burning.
- Cheese: Four slices of cheddar or your preferred melting cheese, because the real magic happens when the cheese actually melts instead of just sitting there cold.
- Butter: Two tablespoons of softened unsalted butter, spread on the outside to create that golden, crispy crust you're actually after.
Tired of Takeout? 🥡
Get 10 meals you can make faster than delivery arrives. Seriously.
One email. No spam. Unsubscribe anytime.
Instructions
- Get your air fryer ready:
- Preheat to 180°C (350°F) for about three minutes while you're spreading the butter. This matters more than you'd think—a cold air fryer means uneven browning and disappointment.
- Butter your bread:
- Spread softened butter on one side of each slice, making sure you cover it all the way to the edges. This is what creates the crispy exterior everyone's after.
- Assemble your sandwiches:
- Place two slices buttered-side down on a clean surface, then top each with two slices of cheese. Cap them off with the remaining bread, buttered side facing up.
- Get them in the basket:
- Arrange the sandwiches in your air fryer basket without overlapping—they need air circulating around them to crisp up properly on all sides.
- First cook:
- Air fry for four minutes until the bottom is golden and the cheese is starting to melt. You'll hear the butter sizzling, which is exactly the sound you want.
- Flip and finish:
- Carefully flip each sandwich and fry for another three to four minutes until the other side is golden brown and crispy. The cheese will be completely melted and oozing slightly at the edges—that's your signal you've done it right.
- Cool and slice:
- Let them rest for a minute so the cheese sets just slightly, then slice diagonally because it somehow makes everything taste better.
 Save
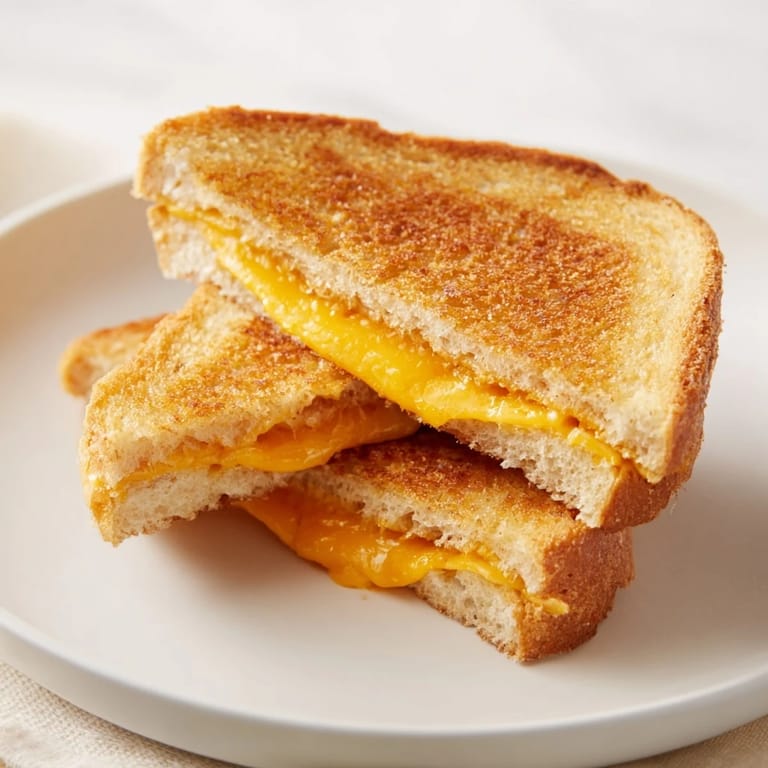
Save The first time I made these for my son's friends during a study session, they demolished them so quickly I barely had time to set the plate down. Watching four teenagers fight over grilled cheese sandwiches reminded me that the best meals aren't complicated—they're just satisfying, warm, and ready when you need them.
Why the Air Fryer Changes Everything
A stovetop grilled cheese requires attention, timing, and a mental note about when to flip. The air fryer eliminates the guesswork entirely—you set it and walk away, which means no more burnt offerings or half-melted disasters. The hot circulating air browns both sides evenly while the moisture from the butter creates a crispy crust that a skillet can't quite match. It's not fancy, but it's noticeably better, and that's enough.
Variations That Actually Matter
The beauty of this method is that it's forgiving enough to handle additions without falling apart. Tomato slices, crispy bacon, sautéed mushrooms—they all work because the air fryer's heat seals everything together instead of letting it leak out the sides. I've also discovered that adding fresh herbs like oregano or thyme to the butter before spreading elevates the whole thing without making it complicated. Some mornings I'll add a thin scrape of mustard or even pesto between the cheese slices, and the controlled heat means no burnt spreads or uneven melting.
The Finishing Touches
Serving these immediately is non-negotiable—the moment they cool even slightly, they lose some of that textural magic. If you're making them for a crowd, I've learned to stagger them in batches rather than trying to do everything at once, which keeps everyone eating warm sandwiches instead of waiting. The diagonal cut isn't just presentation; it actually makes the sandwich easier to hold and eat without it falling apart.
- If you're adding mayo instead of butter, use less of it since it thins out faster in the heat.
- Slice your cheese thin if you're using blocks instead of pre-sliced, because thickness affects melt time.
- Let the bread come to room temperature before assembling so the butter spreads evenly without tearing.
 Save
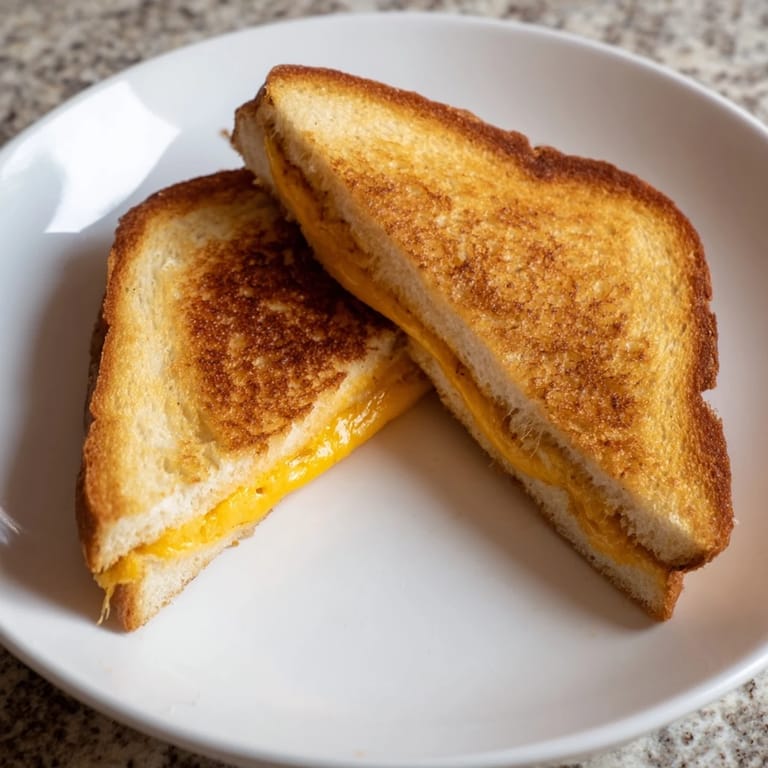
Save This sandwich has become the thing I make when I want food fast but still want it to taste like I actually tried. It's honest cooking—nothing pretentious, just butter, cheese, bread, and the right tool for the job.
Recipe FAQs
- → What is the best bread for this sandwich?
White or whole wheat sandwich bread works well, providing a sturdy base that crisps nicely in the air fryer.
- → Can I use different cheeses?
Yes, choose any cheese that melts easily such as cheddar, mozzarella, or Swiss for a gooey texture.
- → How do I prevent the sandwich from sticking?
Spread softened butter evenly on the outside of each bread slice to create a golden, crispy crust and prevent sticking.
- → Should I flip the sandwich during air frying?
Yes, flipping halfway through cooking ensures even browning on both sides for maximum crispness.
- → Are there any flavor variations to try?
Add sliced tomatoes, cooked bacon, or sprinkle herbs inside before cooking for extra flavor depth.