 Save
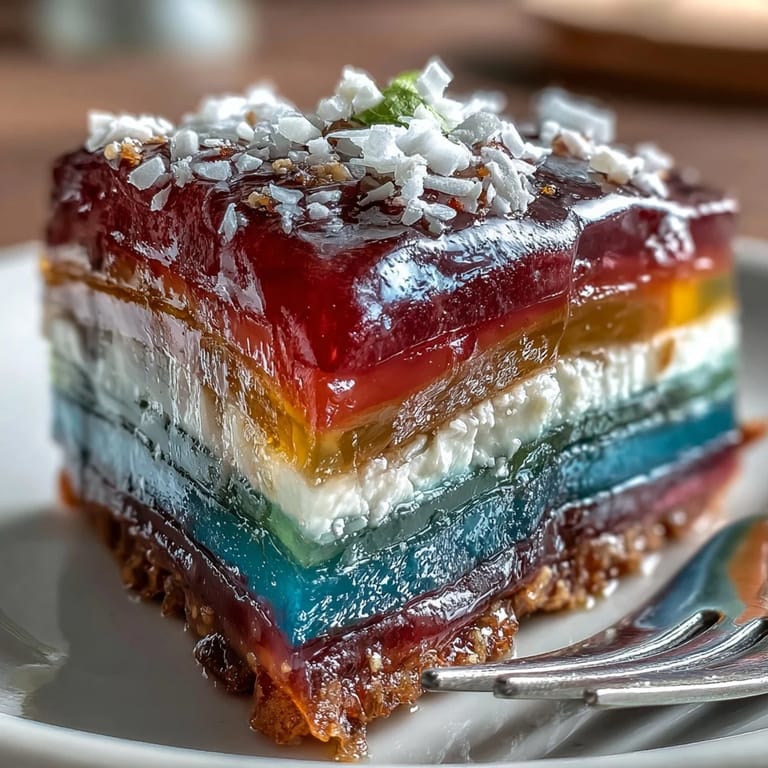
Save The first time I made a rainbow jelly cake, the kitchen windows caught the evening sun just right and painted colorful reflections on the countertop. The gentle plop of unset jelly in the mold and the faint, sweet scent of sugar and coconut promised something playful. By the time the last layer cooled, it felt like I was assembling a stained-glass window more than dessert. The best part was running a knife along that final soft layer and watching the cake tremble—undeniable proof that all the waiting was worth it.
I once brought this cake to a summer picnic and, in the cooling shade, a little group gathered around as I unmolded it—everyone wanted to see the layers revealed before anyone dared take a piece. My nephew tried to guess which color would taste sweetest and ended up with streaks of jelly across his cheeks, looking delighted and a bit scandalized. It’s a dessert that has inspired giggles and careful knife work in my kitchen many times over.
Ingredients
- Agar-agar powder: The foundation of this jelly cake, agar-agar sets beautifully firm and glossy without any animal gelatine—just don’t skimp or the layers won’t hold.
- Water: Using filtered water makes for a clearer, cleaner jelly—something I realized only after a few cloudy batches.
- Granulated sugar: Standard sugar gives dependable sweetness and helps highlight the brightness of each colored layer.
- Food colorings (red, orange, yellow, green, blue, purple): Vibrant colors are the heart of this cake, and gel food dyes give the boldest hues with just a tiny drop.
- Vanilla extract (optional): Just a dash lifts the aroma but won't overpower the colors or coconut—watch for over-pouring.
- Coconut cream: Rich, creamy, and slightly nutty—choose full-fat for a decadent finish and always stir well for a smooth texture.
- Salt: A pinch sharpens the coconut layer’s sweetness and keeps flavors from getting too mellow.
Tired of Takeout? 🥡
Get 10 meals you can make faster than delivery arrives. Seriously.
One email. No spam. Unsubscribe anytime.
Instructions
- Make the Jelly Base:
- Combine agar-agar powder with water in a saucepan and bring to a gentle boil, stirring until the powder vanishes and the kitchen fills with mild sweetness.
- Add Sugar and Flavor:
- Tip in sugar (and vanilla, if using) and whisk steadily—listen for the gentle clink of the whisk against the pan as the mixture clears and the aroma sweetens.
- Color and Divide:
- Pour the clear gel into six bowls and tint each with vibrant food coloring; swirling the spoon is oddly satisfying as each color comes to life.
- Layer the Mold:
- Pour the first colored mix into your mold, wait for it to jiggle-set, then gently add each next color; feel free to peek, but don’t let impatience ruin the stripes.
- Prepare Coconut Cream Layer:
- In a clean pan, stir agar-agar powder with coconut cream and water, bringing it to a gentle simmer while inhaling the tropical scent—don’t let it boil over.
- Finish the Top:
- Once the colored layers have cooled, float the warm coconut cream carefully on top and watch it settle into a silk-smooth finish.
- Chill and Unmold:
- Chill until totally set, then run an offset spatula around the edge and flip onto your plate—a small leap of faith that pays off every time.
- Slice and Enjoy:
- Cut into squares or wedges, and serve cold for the best wobble and shine; don’t be afraid to admire it before the first bite.
 Save
Save  Save
Save When my friend came over feeling homesick, we made this jelly cake together and laughed over our failed attempt to guess which color would set first—by the end, we were eating the wobbly bits in silence, feeling oddly comforted by the cheerful slices on our plates. Sometimes, a bit of color and texture is enough to lift the entire mood of a room.
Choosing Your Mold and Layer Order
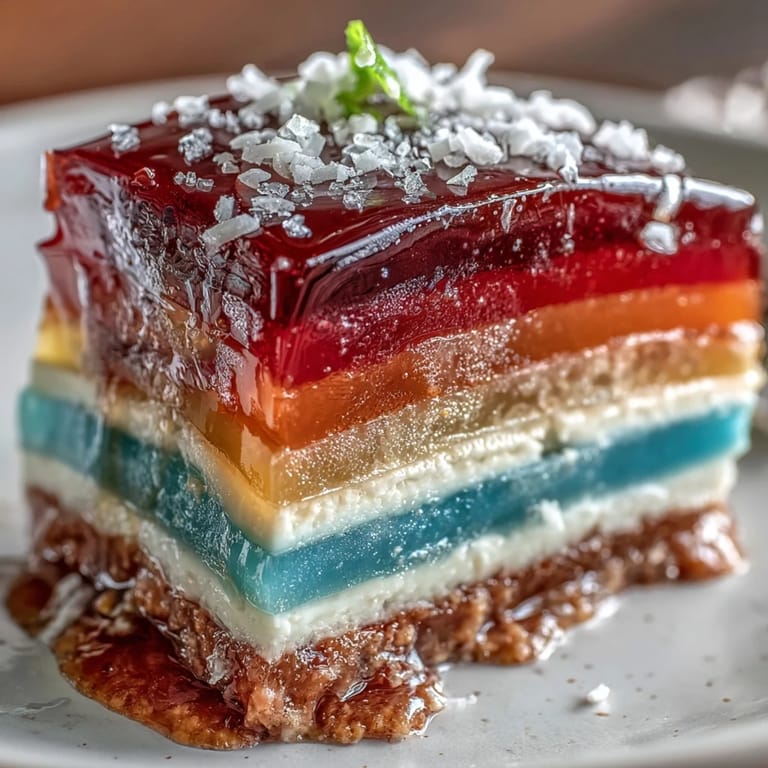
The mold shape really changes the experience—round ones make for pretty, flower-like slices while rectangles give neat, stripey cubes. I’ve found that starting with bold colors like red at the bottom makes for an eye-popping reveal, so think about how you want your slices to look before you begin pouring.
Tricks for Glassy, Firm Layers Every Time
I used to end up with gummy, uneven layers until I realized how important it is to dissolve the agar-agar completely—no shortcuts here, just patient stirring and letting it come to a confident boil. Skimming bubbles off the top with a spoon also helps the layers look perfectly glassy, especially for the topmost coconut cream finish.
Flavoring and Finishing Touches Made Easy
Trying out little twists like pandan or rose extract gives the jelly gentle background notes that make people pause and ask for the recipe; if you want it extra refreshing, use cooled herbal tea instead of plain water for some or all the layers. Sometimes, I garnish the finished cake with shredded coconut or edible flowers for a bit of flare—it always makes people reach for their cameras.
- If you’re short on time, use fewer layers—no one ever minds.
- Natural dyes will keep colors muted but taste just as good.
- Always check agar-agar and coloring ingredients for allergens, especially if serving kids.
 Save
Save  Save
Save Give this rainbow jelly cake a try—with each cheerful slice, you get a little edible celebration and a kitchen memory all at once.
Recipe FAQs
- → How long does each agar-agar layer need to set before adding the next?
Let each layer cool 5–8 minutes at room temperature until it is surface-set but still slightly tacky; this helps the next layer adhere without melting the one below. Cooler kitchen temperatures may require a few extra minutes.
- → Can I substitute agar-agar with gelatin?
Agar-agar sets firmer and at room temperature, while gelatin gives a softer, wobbly gel and requires refrigeration to hold. If using gelatin, reduce concentration and keep the finished cake chilled; textures will differ.
- → What’s the best way to get vibrant, natural colors?
Use concentrated natural colorings like butterfly pea for blue, beet or carrot concentrates for red/orange, and spinach or pandan for green. Add sparingly and taste to avoid altering flavor balance.
- → How do I prevent bubbles and ensure smooth layers?
Pour from a low height and use a ladle or measuring cup for controlled pouring. Tap the mold gently after each pour to release trapped air and skim any foam before it sets.
- → Any tips for a silky coconut cream layer?
Warm the coconut cream with water and dissolved agar until just simmering; whisk to fully incorporate and strain if necessary to remove lumps. Pour while warm but not boiling to avoid disturbing the colored layers.
- → How should leftovers be stored and how long do they keep?
Cover the cake lightly in the refrigerator to prevent drying; it keeps well for up to 3 days. Bring slices to a slightly cooler-than-room temperature for best texture before serving.