 Save
Save My friend handed me her phone one afternoon, eyes gleaming with that specific energy that means I'm about to spend the next three hours obsessed with something new. It was Cookie Run Kingdom, and she was convinced I needed to recreate the Milk Cookie character as an actual dessert. I laughed, but then I saw them—these impossibly delicate sandwich cookies with cream oozing from the sides—and suddenly I was sketching dough ratios instead of finishing my coffee.
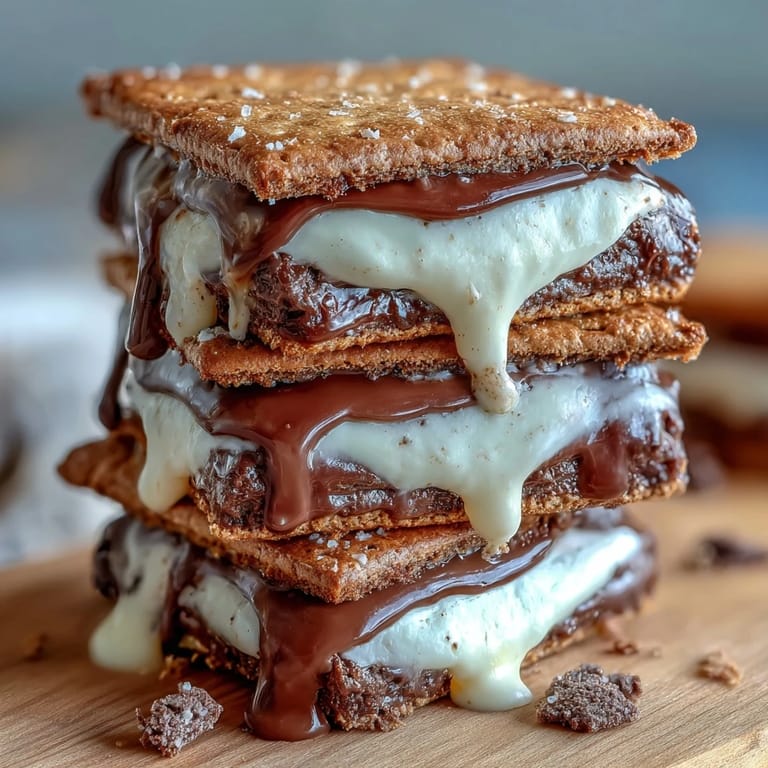
The first batch came out during a late-night baking session, and when my partner walked into the kitchen at midnight and saw them arranged on the cooling rack like tiny edible art, they actually stopped and just looked. That moment—when someone's eyes light up before they even taste something—that's when I knew this recipe had staying power. We demolished half the batch before they were fully cool, cream filling still slightly warm and binding the two halves together perfectly.
Ingredients
- All-purpose flour: The foundation that keeps these cookies tender rather than tough; don't sift unless you've been heavy-handed with your measuring cup.
- Unsalted butter, softened: Room temperature is crucial here because cold butter won't cream properly, and that creaming step is where the tender crumb begins.
- Granulated sugar: The sweetness base that also helps create that delicate structure as it creams with the butter.
- Large egg: Binds everything together and adds richness without making the cookies cake-like if you don't overmix.
- Milk: A small amount adds moisture and helps create that signature tender texture these cookies are known for.
- Vanilla extract: Pure extract makes a noticeable difference here because these cookies are so subtle and delicate.
- Baking powder: Just enough lift to keep them from spreading into thin wafers while baking.
- Salt: Amplifies the vanilla and balances the sweetness so they don't taste one-dimensional.
- Powdered sugar for filling: Sift it first, even if the instructions don't mandate it, because lumps in your cream filling are genuinely disappointing.
Tired of Takeout? 🥡
Get 10 meals you can make faster than delivery arrives. Seriously.
One email. No spam. Unsubscribe anytime.
Instructions
- Prepare your oven and workspace:
- Heat the oven to 350°F and line two baking sheets with parchment paper—this prevents sticking and ensures even, gentle heat distribution. Having everything ready means you won't scramble later.
- Combine your dry ingredients:
- Whisk the flour, baking powder, and salt in a bowl, breaking up any tiny lumps in the baking powder as you go. This step ensures they're evenly distributed through the dough.
- Cream butter and sugar:
- Beat them together for about 2 minutes until the mixture is noticeably lighter in color and fluffy—you're basically whipping in air, which creates the tender crumb. Don't rush this or your cookies will taste dense.
- Add wet ingredients:
- Beat in the egg, milk, and vanilla extract until everything is combined and the mixture looks smooth and slightly pale. Scrape down the bowl to make sure nothing's hiding at the bottom.
- Bring dough together:
- Add the dry ingredients gradually, mixing just until a soft dough forms—overmixing develops gluten and toughens the cookies. You want barely combined, not smooth.
- Shape the cookies:
- Roll the dough into 1-inch balls and space them 2 inches apart on your baking sheets. Using a glass bottom or your palm, gently flatten each ball to about 1/4-inch thickness, which is the sweet spot for chewy-tender texture.
- Bake until golden:
- Bake for 10–12 minutes—they should be just barely golden at the edges while the centers still look slightly underbaked. They continue cooking on the hot pan even after you remove them, so don't overbake.
- Cool completely:
- Let them cool on the baking sheet for a minute, then transfer to a wire rack and let them cool completely before filling. Warm cookies will make your cream filling melt.
- Make the cream filling:
- Beat softened butter until it's completely smooth, then add sifted powdered sugar gradually while mixing. Add milk and vanilla and beat until fluffy and spreadable—about 2 minutes of beating.
- Assemble your sandwiches:
- Spread about 1 tablespoon of filling onto the flat side of half the cookies, then gently press the remaining cookies on top, flat side down. They look like little edible jewels once assembled.
 Save
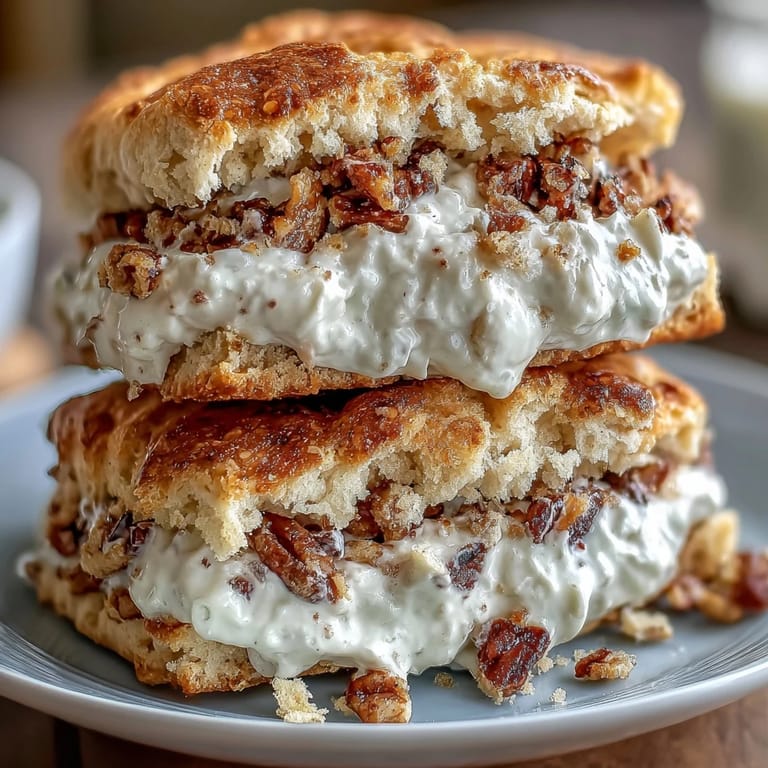
Save I made these for a friend's birthday potluck, tucked them into a vintage tin, and watched three different people reach for a second one before they'd even finished their first. They're the kind of cookie that disappears quietly, not because they're flashy, but because they're genuinely comforting—soft and sweet and made with actual butter, which somehow tastes like someone was thinking of you while baking.
The Texture Sweet Spot
These cookies live in that perfect middle ground between chewy and crisp, and it's because you're stopping the bake just before full set. I learned this the hard way by baking a batch until the edges turned deep golden, which sounded like the right move but resulted in cookies that snapped instead of gave way. The moment you take them out, they feel slightly soft—almost uncertain—but that's exactly right. They firm up as they cool, and by the next day they've achieved this buttery tenderness that makes them almost melt on your tongue.
Filling Consistency Matters
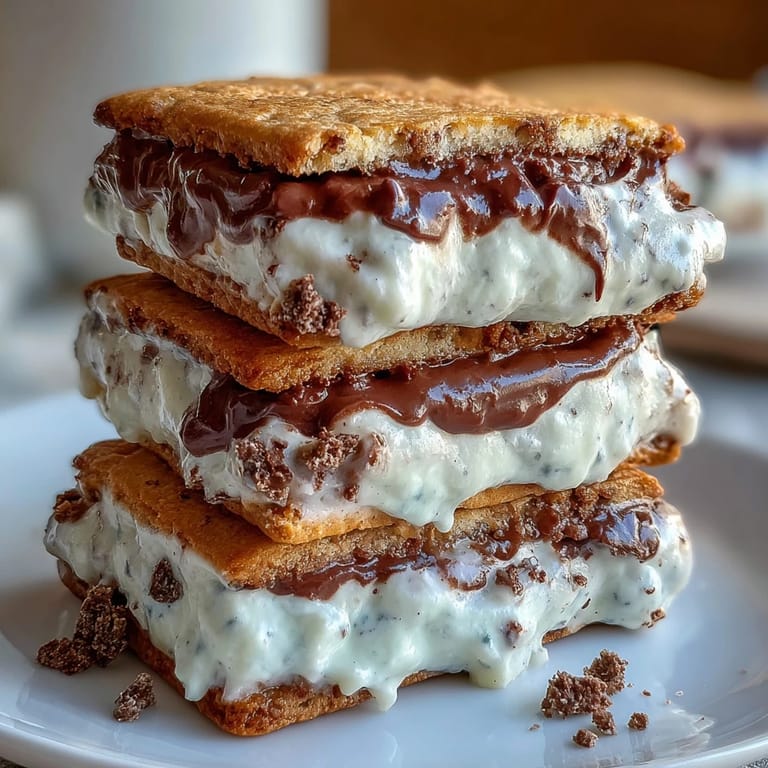
The cream filling is the whole point of these sandwich cookies, so getting it right is worth the extra attention. If it's too stiff, it's hard to spread and the cookies split when you press them together; too soft and it oozes out the sides like the filling is escaping. The goal is that spreadable-but-holding-its-shape consistency, which you achieve by beating the butter until it's almost mousse-like before adding the sugar. Adding the milk at the end, just a tablespoon, seems minimal until you realize it's what keeps everything from becoming grainy.
Storage and Variations
These cookies keep beautifully in an airtight container, and honestly, they taste better after sitting for a day or two once the flavors have had time to marry and the cookies have softened slightly. You can dress them up however you want—cocoa powder in the dough for chocolate versions, sprinkles pressed into the filling before assembly, or even a tiny pinch of almond extract in the filling if you want to get creative.
- Store assembled cookies in an airtight container at room temperature for up to 3 days, keeping parchment between layers.
- If you want to get fancy, brush the cookie edges with a bit of melted chocolate or dip them in sprinkles before the filling sets.
- Make the cookie dough ahead and refrigerate it overnight, then roll and bake whenever you want freshly baked cookies without the full-recipe effort.
 Save
Save These cookies remind me that sometimes the most memorable desserts are the quiet ones—soft, sweet, and made with actual care. There's something special about biting into a sandwich cookie and finding that smooth, buttery filling, knowing you made it yourself.
Recipe FAQs
- → How do I achieve the perfect soft texture for the cookies?
Use softened butter and avoid overmixing the dough. Baking until just golden edges appear ensures tenderness.
- → Can I add flavors to the cream filling?
Yes, vanilla is classic, but you can mix in cocoa or other extracts for variation.
- → What is the best way to assemble the sandwich cookies?
Spread about a tablespoon of cream on the flat side of half the cookies, then gently press the remaining cookies on top.
- → How should I store these sandwich cookies?
Keep them in an airtight container at room temperature for up to 3 days to maintain freshness.
- → Is it possible to add a chocolate flavor twist?
Yes, adding 2 tablespoons of cocoa powder to the dough adds a rich chocolate variation.